A cornerstone of maintaining peak performance in your vaping experience lies in the meticulous care and maintenance of one crucial component – the vape coil. Lurking within your device, the vape coil plays a pivotal role in transforming e-liquids into flavorful vapor clouds for your enjoyment.
Neglecting this intricate piece could sully not only the taste and flavor production of your favorite blends but also impede the longevity of your overall vaping apparatus. Clean coils are more than just a hygiene factor; they are essential to unlocking the full potential of your device, ensuring each draw is an indulgence in flavor purity, flavor and vapor production of excellence.
What is vape coil & how much it’s important?
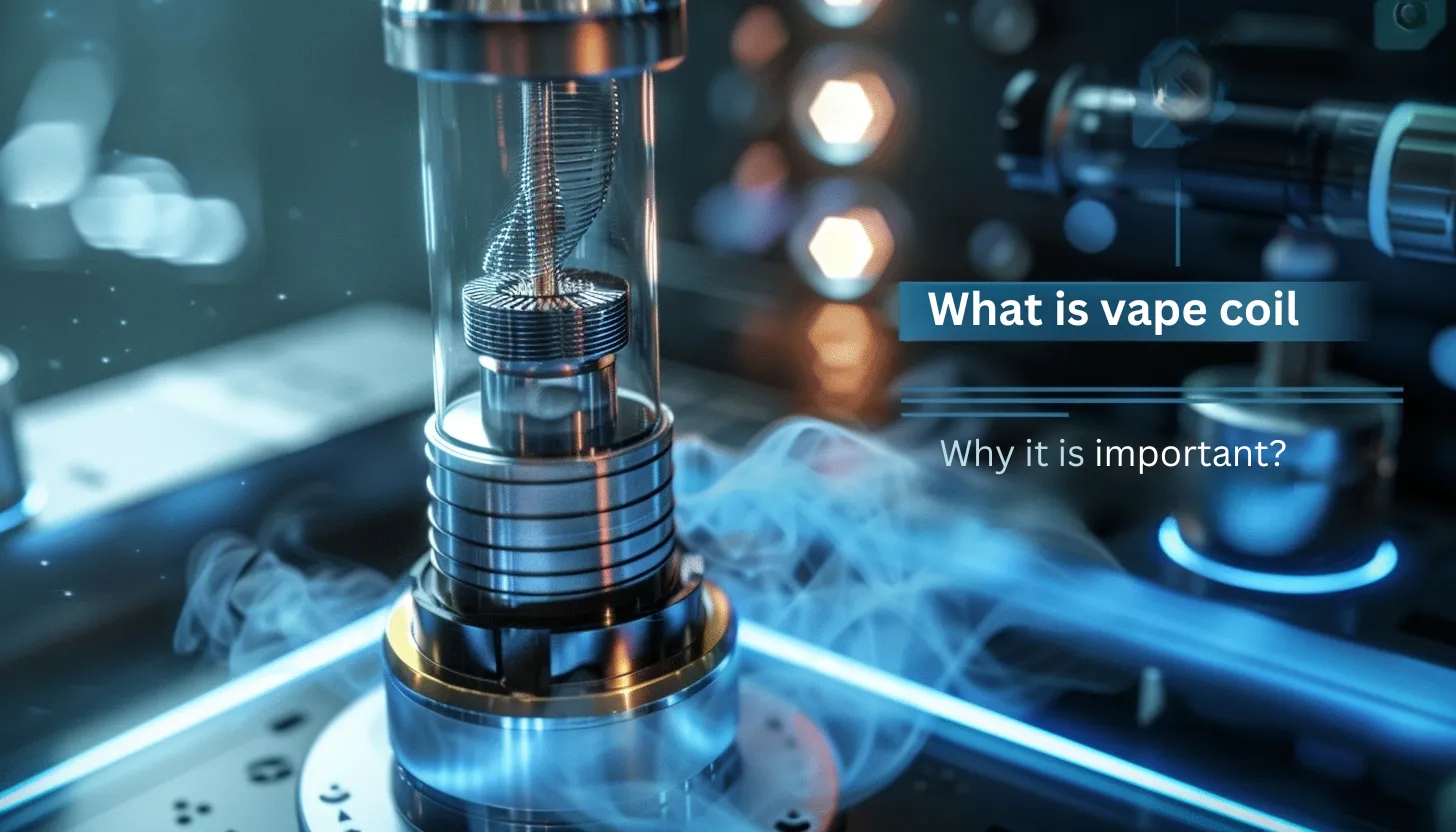
Vape coils are essential components in electronic cigarettes and vaping devices responsible for heating the e-liquid, turning it into vapor. These coils, typically made of wire (such as Kanthal, stainless steel, or nickel) wrapped around a wicking material like cotton or silica, play a crucial role in the overall vaping experience.
The coil heats up when electricity passes through it, vaporizing the e-liquid and creating that satisfying cloud of vapor that enthusiasts enjoy. A clean vape coil is vital for proper functioning, as any build-up on the coil can significantly impact its performance.
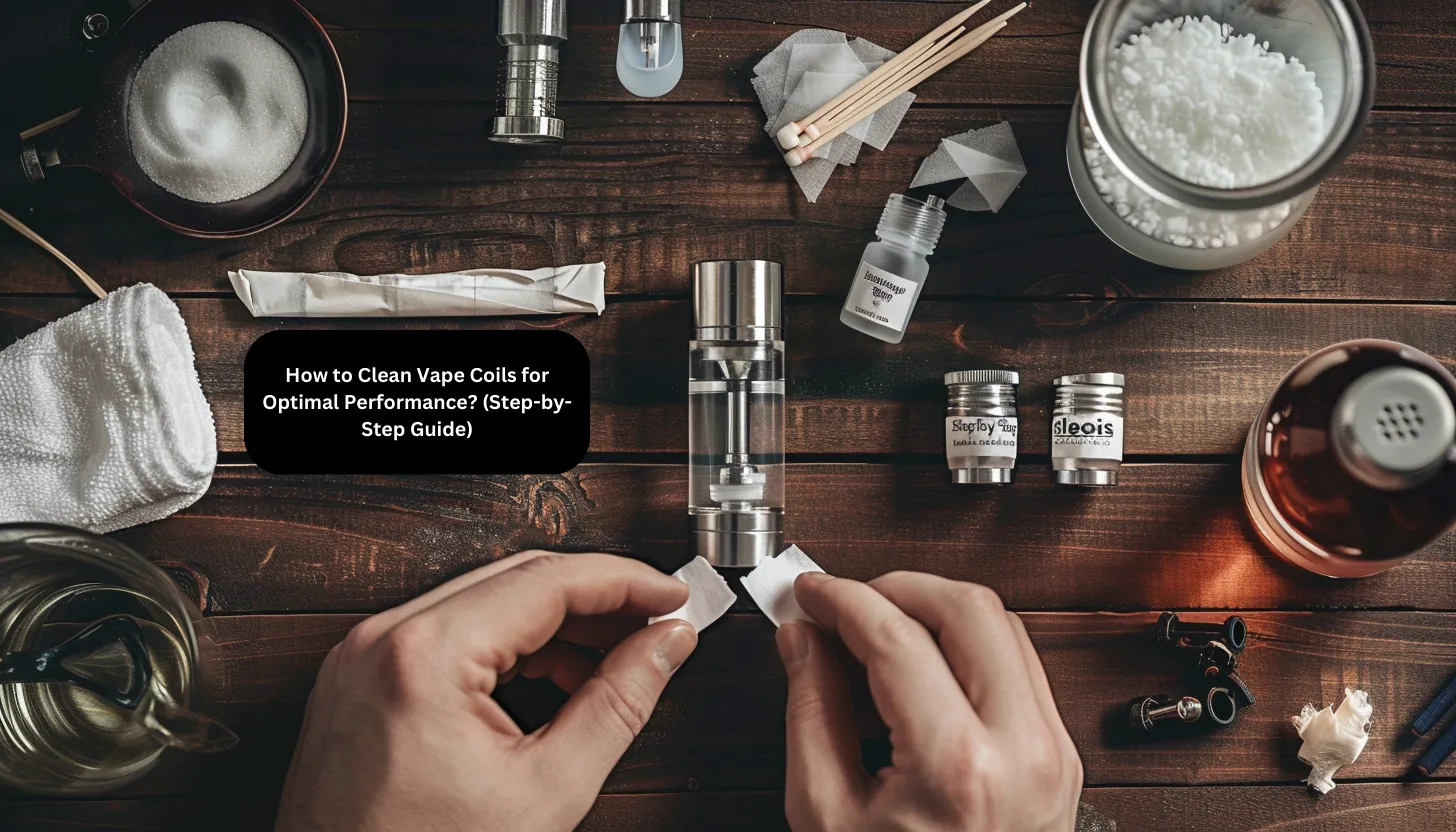
Step-by-step Guide on How to Clean a Vape Coil
Step 1. Gather necessary supplies:
1. Paper towels or cloth: Ideal for wiping surfaces completely dry, and absorbing excess moisture.
2. Q-tips: Perfect for reaching small, intricate areas that may be difficult to clean with larger tools.
3. Small bowl filled with warm water: Helps dissolve dirt and grime effectively, facilitating a thorough cleaning process.
Step 2. Remove the coil from the vape tank
When undertaking the complicated process of cleaning your vape coil, it is imperative to begin by safely removing parts and knowing how to clean vape coil. To ensure this crucial step goes smoothly, start by unscrewing the base of your tank to access the how to clean vape coil part.
Take care not to pull on the coil directly, as this can inadvertently damage or misshape it. Instead, gently twist and wiggle the coil out of its housing to prevent any unwanted strain on its delicate components.
To further protect your coil during removal, consider wearing clean gloves that provide a secure grip without compromising cleanliness. This precaution will help maintain hygiene and prevent fingerprints or contaminants from transferring onto the coil’s surface as you handle it.
By exercising caution and patience in taking out the coil, you set a strong foundation for effective cleaning that preserves both functionality and longevity.
It’s worth noting that some coils may require a bit more finesse in removal due to varying designs across different vaping devices.
For instance, certain tanks feature coils that are secured with additional parts or intricate mechanisms. In such cases, refer to your device’s user manual for specific instructions tailored to your setup.
Step 3. Dry burning method
The dry burning method is a light dry burn, a fundamental technique in cleaning vape coils, aimed at eliminating residue and gunk accumulated during use. To perform this final dry burn method on replaceable coils effectively, start by disassembling the coil from the vape tank following the previous step.
Once you have a bare coil, attach it to your mod or battery securely. Gently pulse the fire button in short bursts to heat the coil gradually. Watch for any discoloration or glowing spots, indicating impurities burning off. It’s crucial to avoid overheating; moderation is key to prevent damaging the coil.
Safety precautions are paramount when employing the dry burning method to clean vape coils. Ensure proper ventilation during this process, as burning residue can emit noxious fumes. Avoid excessive pulsing of the fire button, as prolonged heat exposure can lead to coil deformation or oxidation.
If you notice any unusual smells or smoke coming from the coil, stop immediately and assess the situation before proceeding. By being attentive and cautious throughout, you can effectively rid your coil of unwanted residues without compromising its integrity.
Step 4. Soaking method
The soaking method proves to be a highly effective technique for deep cleaning vape coils, especially when excess build-up is present when cleaning coils. To employ this deeper cleaning coil soak method, begin by preparing a designated solution tailored for coil cleaning.
Typically, alcohol or vinegar-based solutions are used due to their ability to break down stubborn residue effectively. Submerge the dirty coils in the solution and let them soak for an adequate amount of time. The duration of soaking can vary depending on the extent of the grime; however, allowing the coils to sit for at least a couple to several hours or overnight generally yields superior results.
One notable benefit of the soaking method is its thoroughness in removing even the most persistent deposits from coils. Whether it’s caramelized sweeteners, burnt e-liquid residues, or gunk accumulated over extended use, soaking ensures a deep cleanse that can significantly improve the performance and flavor output of your vaping device.
Think of this process as akin to a coil spa treatment – immersing them in hot water as a specialized solution to rejuvenate their function and extend their longevity.
Step 5. Cleaning with vinegar or alcohol
When looking to tackle stubborn residue and grime on your vape coils, using vinegar or alcohol can be a reliable solution. Their naturally disinfecting properties make them effective agents for sanitizing coils without leaving behind harmful residues that could interfere with your vaping experience.
Vinegar, often white distilled vinegar, is particularly adept at breaking down tough build-ups while being gentle enough not to cause damage to the coil itself. Likewise, isopropyl alcohol is known for its ability to dissolve various residues quickly, ensuring a thorough clean.
Both vinegar and alcohol are excellent at cutting through the accumulated gunk in the small crevices of coils, providing a deep cleansing effect.
For instance, if you notice lingering flavors from previous e-liquids affecting your current vape sessions, soaking your coil in a vinegar solution a few seconds can help neutralize those unwanted tastes.
Similarly, when faced with coils encrusted with stubborn deposits that affect vapor production and flavor quality, immersing them in alcohol can effectively dissolve these problematic residues.
By utilizing vinegar or alcohol for cleaning vape coils thoroughly, vapers can benefit from an enhanced vaping experience free from residual flavors or poor performance due to build-up on the coil’s surface.
These substances are cost-effective and readily available household items that offer powerful cleaning properties suitable for maintaining optimal coil performance over time and extensive use.
When employing this cleaning method, it is essential to rinse the coils meticulously after treatment to remove any remnants of the cleaning agent before drying thoroughly to prevent potential issues relating to foreign substances left on the coil post-cleaning.
Step 6. Final rinsing and drying
After cleaning your vape coil using vinegar or alcohol, it’s crucial to ensure a thorough rinse under hot water to eliminate any lingering residues from the cleaning agents. Start by rinsing the coil under warm running or hot water, making sure to rinse well to remove all traces of vinegar or alcohol.
Gently shake the water pass the coil while rinsing to help dislodge any remaining particles. This step is vital to prevent any unwanted tastes from lingering in remaining liquid until your next vaping session.
Once you have completed the rinsing process with boiling water, the next step is drying the coil effectively before reassembling it into a coil heads of your tank. To completely dry off the coil thoroughly, pat it gently with a paper towel to absorb excess hot water.
Avoid wiping too much heat too vigorously as this can damage the delicate coils. Following that, leave the coil out to air dry completely for at least 24 hours in a clean and dry environment. Proper drying is essential as residual moisture can lead to rusting or malfunctions in your device.
By ensuring proper rinsing and drying techniques are followed after cleaning your vape coil, you guarantee not only its cleanliness but also its longevity and performance efficiency. Failing to dry the coil correctly might result in compromised flavor output due to trapped moisture inside the coils.
Additionally, inadequate drying can contribute to rust formation over time, negatively impacting both taste quality and overall vaping experience. So take your time during this final step for optimal results in maintaining peak performance from your vape coils.
Additional Tips and Troubleshooting

Ensuring the longevity of your cleaned vape coils involves a few additional tips beyond the proper coil cleaning tool rinse process.
Firstly, storing your coils properly can make a significant difference. To maintain the quality of your disposable vape, store it in a clean and dry area, shielded from direct sunlight and extreme temperatures. This practice helps prevent any potential deterioration of the device and ensures a consistent vaping experience.
Additionally, using high-quality e-liquids that are free from sweeteners can reduce residue build-up on your coil, extending its lifespan between cleanings.
By exercising caution when priming new coils and not exceeding the recommended wattage limits, you can prevent premature burning and prolong their effectiveness.
Common issues like hot spots or uneven heating may arise even after thorough cleaning. One way to troubleshoot this is by adjusting your coil positioning within the atomizer to ensure uniform heating.
Blotting excess liquid before using the wick to clean your vape can eliminate spit back issues caused by oversaturation of wick. If you do remove wicks and still encounter a burned taste post-cleaning, consider replacing the wicking material if appropriate for your coil type.
Regularly checking and tightening connections within your device can also prevent performance issues caused by loose components.
Remember that maintaining cleanliness is an ongoing aspect of maximizing performance. Periodically inspect your coils for signs of wear or residue accumulation, adjusting your cleaning routine as needed based on usage patterns and e-liquid compositions.
By following these additional tips and effectively troubleshooting common problems encountered with vape coils, you can optimize their functionality and enjoy a consistently satisfying vaping experience while ensuring their durability in the long run.
Conclusion
In conclusion, mastering the art of the proper cleaning of vape coils is paramount for ensuring optimal performance in your vaping experience. By following the structured steps outlined in this guide – from gathering the necessary supplies to utilizing cleaning methods such as dry burning and soaking with specific solutions like vinegar or alcohol – vapers can maintain their coils at peak efficiency for longer lifespan. Regular maintenance, including thorough rinsing and drying before reassembly, is essential to prevent build-up and greatly extend the longevity of your coils.