Are you tired of making your own vape juice that doesn’t meet the right standards for vaping? Often, making your own vape juice at home can save money, give you maximum control over the ingredients, and allow for customized flavors that perfectly suit your preferences.
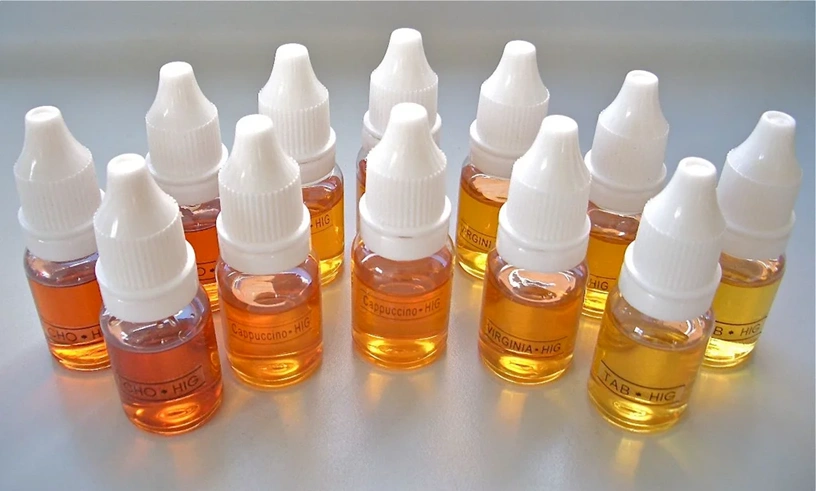
Sounds cool.
In this guide, we’ll explain how to make vape juice, breaking down the steps from choosing ingredients to mixing your own e-liquid. Whether you’re new to DIY vape juice or looking to refine your process, this guide will help you craft the perfect vape juice blend right at home.
Let’s get started!
Related Post: What Vape Juice Should I Use?
What You Need to Make Vape Juice: Must-Have Essentials
Worry less if you’re craving to make your own vape juice this year. Making homemade vape juice requires only a few key ingredients and some essential ingredients. Whether you want to produce more giant clouds or a flavorful vape, having the right materials is crucial.
Before we delve into the steps to making your own vape juice, the following nuggets are a must-know for the success of the process.
Ingredients and Their Role in the Vape Juice-Making Process
The following ingredients play a significant role in the vape juice-making process. In other words, without propylene, vegetable glycerin and nicotine (optional), say no to the e-liquid-making process.
Why?
Here are the roles of each ingredient in the vape juice-making process;
· Propylene Glycol (PG)
This is a base liquid responsible for carrying the flavour. It provides a stronger throat hit and is a common ingredient in commercial juices. Propylene glycol is thinner than vegetable glycerin and works well with flavour concentrates to create a smooth vaping experience.
Therefore, propylene glycol PG is essential for a balanced PG and VG mix.
· Vegetable Glycerin (VG)
VG is another base liquid popularly known for creating larger vapour clouds. It is a must-have ingredient if you want to produce larger clouds of vapour. VG is thicker than PG and can produce a more flavorful vape.
· Nicotine (Optional)
Though nicotine seems to be optional in the making of vape juice, you can use it depending on the nicotine strength you’re looking for in vape juice. Nicotine must be measured accurately because it harms the body when used in large quantities.
· Flavor Concentrates
Flavours play a massive role in making vape juice. Different vapers have different tastes and preferences for flavors. Flavors act as the heart of vape juice. Typically, a good flavour concentrate adds depth and character to your homemade e-liquid.
In this case, you can use any fruity, dessert, or even pipe tobacco flavor of your choice. However, don’t use too much flavouring—balance is essential.
Now that you know the basic ingredients needed to make perfect vape juice at home, what tools or equipment is needed to complete the process?
Check it out!
4 Tools & Equipment Needed to Make Homemade Vape Juice
· Empty Bottles
· Syringes or Pipettes
· Gloves
· Labels
Understanding the Basics: Simple Things You Need to Know
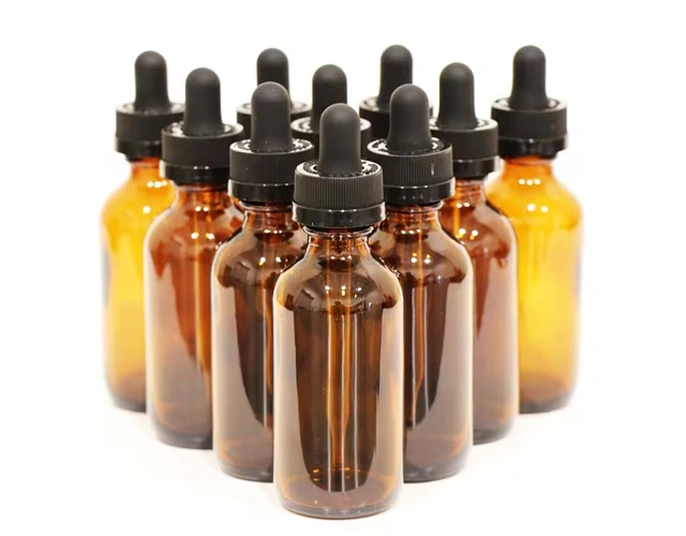
Before you start making your own vape juice, it’s essential to understand the basics of vape juice components.
These basics will help you tailor your DIY vape juice, from flavour intensity to vapour production, to meet your vaping preferences.
Let’s examine the critical aspects of e-juice creation, focusing on PG vs VG, nicotine strength, and flavour concentrates.
PG vs. VG: Differences, Benefits, and Common Ratios
The table below gives a precise summary of the differences in PG vs. VG in the making of e-liquids;
| Component | Characteristics | Usage in Vape Juice | Common Ratios |
| Propylene Glycol (PG) | * Thinner liquid * Delivers stronger throat hit * Efficiently carries flavour concentrates * Produces fewer clouds |
* Used in commercial juices to enhance flavour
* Ideal for those prioritizing flavour over vapour production |
* Commonly used in a 50/50 or higher PG mix for flavour intensity |
| Vegetable Glycerin (VG) | * Thicker liquid * Produces large clouds * Smoother vape with less throat hit * Less efficient in carrying flavours |
* Preferred by cloud chasers * Used in sub-ohm vaping setups for smoother experiences |
* Commonly used in a 70/30 VG to PG ratio for more giant clouds |
| Common Mix Ratios | 50/50 mix: Balanced experience between vapour production and flavour | Adjust ratios based on preference for cloud production or flavour intensity | 50/50 for balance 70/30 VG for cloud production |
Step-by-Step Guide to Making Vape Juice at Home: 5 Easy Ways
Did you know making your vape juice at home is fun and allows you to customize it to match your flavour preferences, throat hit, and vapour production?
If you’re looking forward to making your vape juice, we have you covered. We have compiled detailed step-by-step processes to help you create a fantastic homemade vape juice without spending too much.
Let’s dive in!
· Step 1: Gather Your Supplies
Before you start, ensure all your equipment and ingredients are ready and sanitized. Here’s what you’ll need:
Ø The base liquids are Propylene Glycol (PG) and Vegetable Glycerin (VG).
Ø Nicotine (optional) depending on your preferred nicotine strength.
Ø Flavour concentrates on customizing the taste of your own juice.
Ø Empty bottles, syringes, or pipettes for measuring and mixing ingredients.
Ø Gloves and labels for safety and identification.
Using clean equipment is crucial to avoid contamination of your e-liquid. Once your supplies are gathered, you’re ready to proceed to the next step.
· Step 2: Calculate Your Ratios
The key to making a great DIY e-liquid is getting the right balance between your ingredients. This includes measuring the correct amounts of PG, VG, nicotine, and flavour concentrate.
An e-liquid calculator is an excellent tool for determining the desired amount of each ingredient. Several free vape calculators are available online to guide you through this process.
You will need to decide the pg and vg ratio based on your vaping style:
· Step 3: Mix Your Ingredients
Once your ratios are calculated, it’s time to mix the ingredients.
Here’s how:
1. Measure PG and VG: Start by measuring the propylene glycol and vegetable glycerin according to your calculated ratios. For example, increase the VG base if you want a thicker liquid and more significant clouds. If you prefer a strong throat hit, use more PG.
2. Add Nicotine (If using): Carefully measure the nicotine base using syringes, especially if you’re handling high-strength nicotine. Always wear gloves and follow safety guidelines when handling nicotine, as even small amounts can be potent. Avoid adding too much nicotine, as it can overwhelm the vape experience.
3. Add Flavor Concentrates: Next, add the flavour concentrates. You can use a single flavour or experiment by combining multiple flavours for a unique blend. If you’re new to this, start with a 10-15% concentration of food flavourings, then adjust according to your taste preferences.
· Step 4: Combine and Shake
After all your ingredients are added, cap the bottle tightly and shake it well. This step ensures that the base mixture of PG, VG, nicotine, and flavouring is well combined.
Shaking vigorously helps distribute the flavours and nicotine evenly throughout the liquid. You may notice the liquid thickening as the VG mixes with other ingredients.
· Step 5: Steep Your Own Vape Juice
Steeping is the final step in making homemade vape juice. It allows the flavours to blend thoroughly, creating a more balanced and robust taste. Steeping is especially important when working with multiple flavourings or higher concentrations of flavour concentrate.
After steeping, open the bottle and take a sniff.
If the flavour smells right, your homemade e-liquid is ready to use. For some, steeping can make the difference between a bland and exceptional vaping experience.
4 Benefits of Making DIY Vape Juice at Home in 2024
Crafting your diy vape juice not only provides you with control over the ingredients but also offers several other advantages that make it an appealing option.
Here are four key benefits of making vape juice at home in 2024:
1. Cost Savings
One of the most significant advantages of creating homemade vape juice is the potential for cost savings. Commercial juices can be expensive, especially when purchasing high-quality blends in large quantities. You can dramatically reduce these costs by learning how to make vape juice.
2. Customization
Another significant benefit of making your own vape juice is the ability to customize your experience entirely. When crafting your DIY juice, you can choose the exact PG and VG ratio that suits your vaping style. For example, if you prefer giant clouds, you can increase the VG base in your e-liquid to make it thicker. Alternatively, after a stronger throat hit, you can adjust the propylene glycol content for a more intense sensation.
3. Quality Control
Making your own e-liquid-liquid at home gives you complete control over the quality of your ingredients. Unlike some commercial juices, which may contain unwanted additives, you can ensure that your homemade juice is free from harmful chemicals or excessive sweeteners. This is particularly beneficial if you have sensitivities or allergies to certain ingredients.
4. Reduced Waste
By making your own DIY e-liquid, you contribute to reducing waste in several ways. First, you eliminate the need for single-use packaging when buying commercial juices. Instead, you can reuse bottles and mixing tools, saving you money and reducing plastic waste. This eco-friendly approach aligns with the growing movement toward sustainable and environmentally conscious consumer habits.
How Manufacturers Produce Vape Juice
Manufacturers produce vape juice using a precise process, combining various ingredients to create a consistent, high-quality product.
While making DIY vape juice at home follows a similar structure, large-scale production by manufacturers ensures the standardization of flavours, nicotine levels, and other factors to meet consumer demand.
Here’s a look into how manufacturers create e-liquid, also known as vape juice.
1. Gathering the Ingredients
The first step in making vape juice is selecting high-quality ingredients. Manufacturers use four main components to produce e-liquid:
- Propylene Glycol (PG)
- Vegetable Glycerin (VG)
- Nicotine
- Flavor Concentrates
2. Calculating the VG/PG Ratios
Once the ingredients are selected, manufacturers determine the appropriate vg ratio and pg content.
A high VG ratio is chosen for cloud-focused products to create large clouds. Alternatively, a higher PG content is selected for those seeking a stronger throat hit and a more intense flavour profile.
Manufacturers can fine-tune these ratios using vape calculators to ensure consistency in every batch.
3. Mixing the Ingredients
This is the third process where manufacturers use industrial equipment to mix the propylene glycol, vegetable glycerin, flavour concentrates, and nicotine base (if used).
The process is much more refined than home-based DIY juice making. It ensures that the ingredients are blended thoroughly to avoid any separation of the flavours or base liquids.
The mixing process is conducted in sterile environments to ensure the e-juice is free from contamination. Additionally, machines measure the exact amount of each ingredient, maintaining a consistent desired pg and desired vg balance in every bottle produced.
4. Flavouring the Juice
Flavouring is one of the most critical stages in manufacturing e-liquid. Manufacturers typically add flavour concentrates in precise amounts, ensuring a consistent taste across batches. They may also combine multiple flavours to create complex and unique blends that appeal to consumers looking for variety.
Note that over-flavouring can lead to too much flavouring, which might negatively affect the taste and consistency of the vape juice.
5. Steeping the Juice
After mixing, the steeping process begins.
Steeping allows the flavours in homemade or commercial juices to mature and blend more harmoniously, resulting in a more decadent and more flavorful vape. Manufacturers may use various steeping methods, such as leaving the juice in a dark place for several weeks or employing heat and agitation to speed up the process.
Typically, steeping is essential for enhancing the taste, especially when vegetable glycerin (VG) is the dominant base, as VG can take longer to absorb flavours.
6. Bottling and Labeling
Once the vape juice has steeped and reached the desired flavour profile, it is time to bottle the product. Manufacturers use specialized machines to fill small bottles or larger containers with the vape juice, ensuring that each bottle contains the exact amount of liquid. These bottles contain essential details such as nicotine strength, pg/vg ratios, and safety warnings regarding handling nicotine.
7. Quality Control
Quality control is a crucial aspect of vape juice manufacturing.
Each batch of e-liquid undergoes rigorous testing to ensure that it meets regulatory standards and delivers a consistent experience.
This involves checking the nicotine strength, vg ratio, and flavour profile to ensure they align with product specifications. Ensuring the product remains free from contaminants and unwanted ingredients is vital, as vaping products are closely monitored for safety and quality.
Should you have any questions, contact us or visit our blog page for more vaping insight!

